
Orthopedic support is vital when you convert old memory foam into a bed for your senior dog; by topping up worn layers and enclosing them in a washable cover you give your pet better joint relief and improved mobility. You must inspect foam for mold, mildew, or chemical odors and discard unsafe pieces, then use dense, low-profile foam and secure seams to prevent shifting, which delivers a long-lasting, budget-friendly solution for aging canines.
Key Takeaways:
- Provides pressure-relieving support: upcycled memory foam cushions arthritic joints and can reduce pain—select foam in good condition and an appropriate thickness (2–4 in for small/medium, 4–6 in for large).
- Safety & hygiene: inspect foam for breakdown, thoroughly clean or sanitize before use, and fully enclose it in a waterproof, breathable, washable cover with a non-slip bottom.
- Design & fit: size the bed to your dog’s length, add bolsters or layered foam for hip/neck support, use durable, chew-resistant fabric and secure seams to extend lifespan while reducing waste and cost.
Understanding Senior Canine Needs
Senior dogs often show decreased mobility, muscle loss, and joint stiffness; studies report up to 80% of dogs older than eight display radiographic signs of osteoarthritis. You’ll need bedding that reduces pressure on hips and elbows, preserves warmth for arthritic joints, and offers a stable, non-slip surface to ease standing. Include pressure relief, joint support, and temperature regulation when choosing materials. Thou prioritize beds that combine stability with adequate cushioning.
Importance of Comfortable Bedding
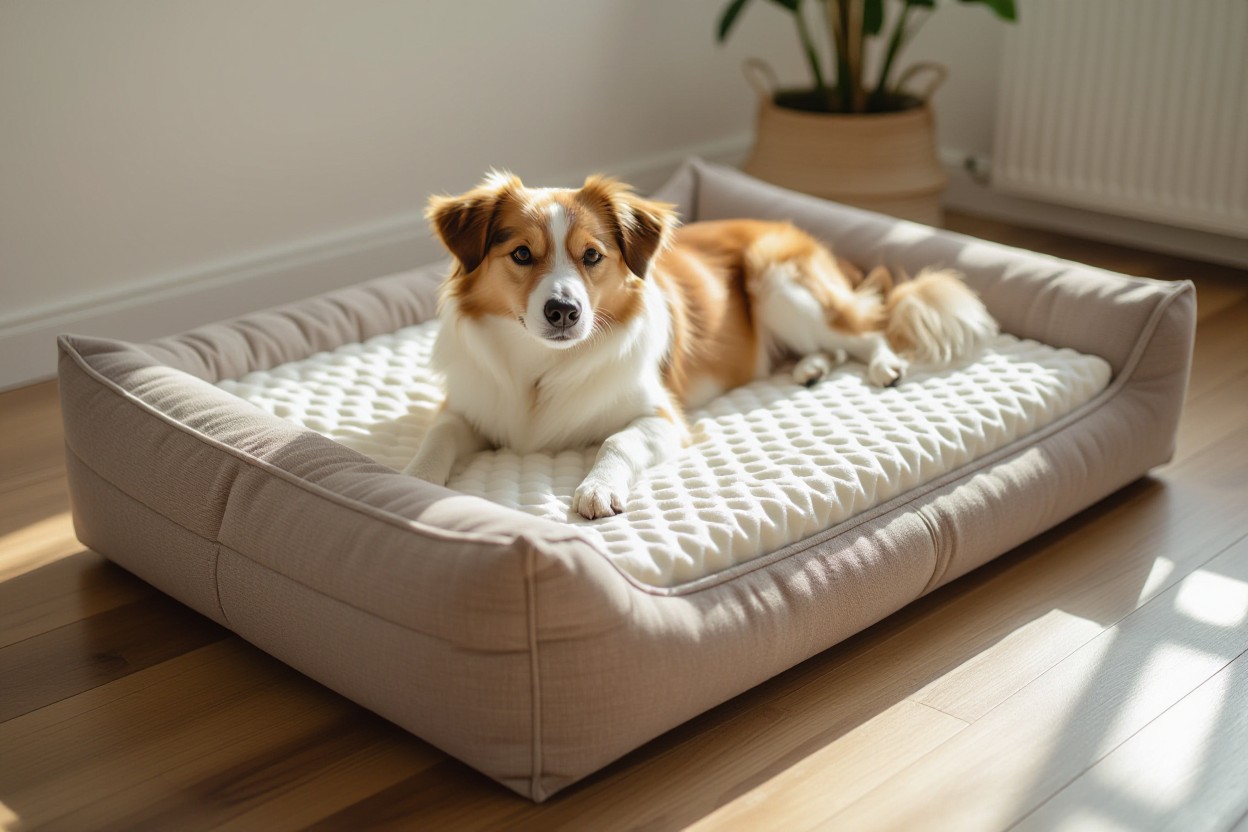
Thin, flat mattresses can cause calluses and exacerbate pain; aim for at least 2–4 inches of high-density memory foam for small dogs and 4–6 inches for larger breeds to prevent bottoming out. Choose a breathable, washable cover and a non-slip base to reduce heat retention and sliding on hardwood floors. You should also factor in low-entry designs for limited mobility. Thou select materials that balance pressure relief with long-term durability.
- memory foam
- washable cover
- non-slip base
- Thou prioritize pressure relief and correct thickness for your dog
Factors to Consider for Orthopedic Support
Look for multi-layer construction: a top viscoelastic memory foam layer for pressure redistribution and a firm high-density base to prevent sagging. Target comfort-layer densities around 3–5 lb/ft³ and a base dense enough to avoid more than 1/2 inch of compression under your dog’s weight. Inspect seams, zippers, and water-resistant liners for long-term hygiene. Thou opt for tested materials rated for sustained support.
Large breeds over 50 lb typically need 4–6 inches total foam depth; small breeds do well with 2–4 inches. Add a 1–2 inch gel-infused memory foam top layer to reduce heat buildup and a dense base (≥1.8 lb/ft³) to resist compression over years. Consider a 4–6 inch bolster for head support without obstructing access and test foam resilience by compressing it with body weight. Thou prioritize thickness and density matched to your dog’s size and condition.
- density
- thickness
- bolster
- Thou ensure a non-slip underside and durable cover
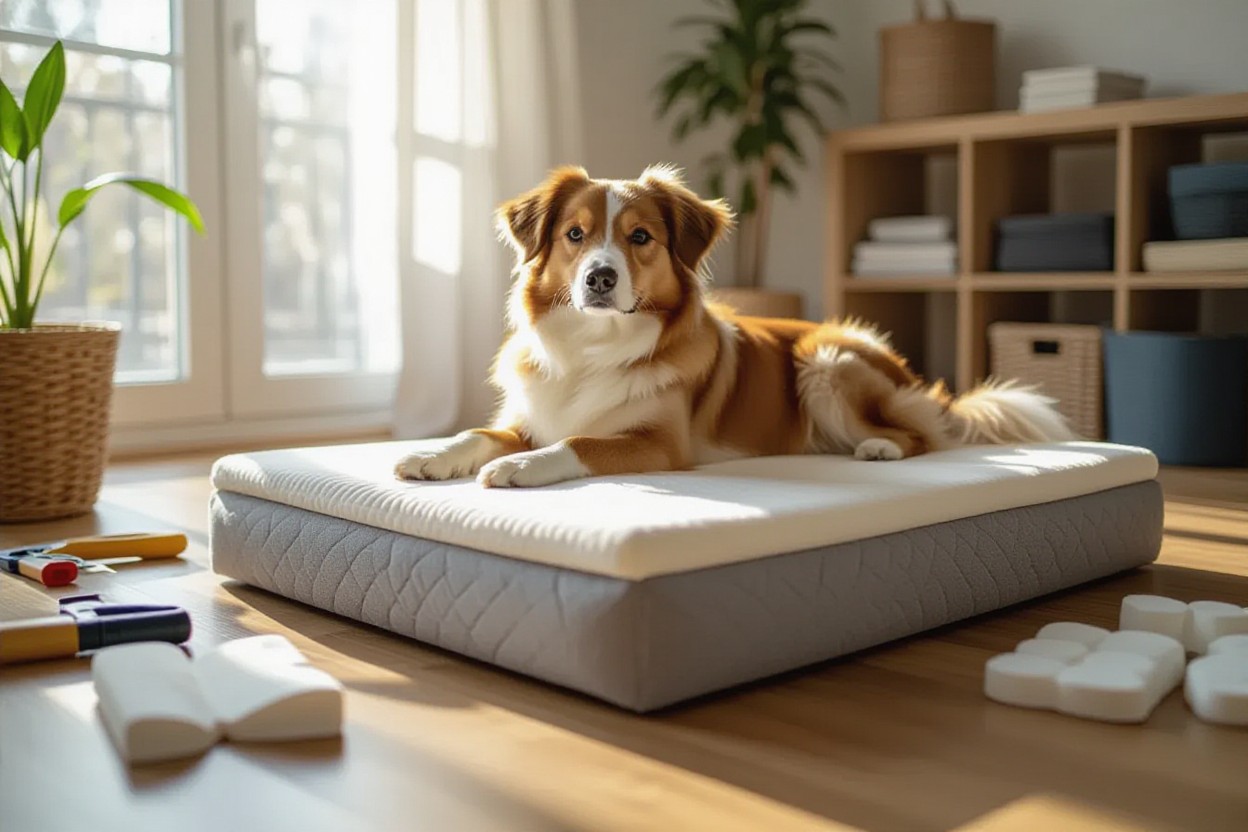
Upcycling Memory Foam
You can repurpose foam to give senior dogs orthopedic support while cutting waste and cost. Aim for pieces that provide 2–4 inches of cushioning and a density of around 4 lb/ft³ or higher for lasting support; thinner or low-density foam will break down in months. Check for contamination, odors, and structural integrity before committing, and plan on layering, trimming, and enclosing the foam in a washable cover to protect against accidents.
Sourcing Memory Foam
Find usable foam at thrift stores, mattress recyclers, Craigslist/Facebook Marketplace, hotel surplus sales, or from old pillows and toppers; expect used toppers to range from $20–$80. Inspect seams and smell: avoid pieces with urine, mold, or heavy smoke. Prefer intact toppers with zippers so you can assess inner layers; pillows make great bolsters, and cut-out remnants work for bolstering edges.
Preparing the Foam for Use
Begin by vacuuming with an upholstery attachment, then spot-treat stains with an enzyme cleaner designed for pet messes and allow 48–72 hours of airing outside to off-gas VOCs and odors. Cut foam using an electric carving knife or long serrated blade for clean edges, and join layers with a water-based spray adhesive labeled safe for polyurethane foam. Do not machine wash or steam clean the foam.
For deeper prep, score the foam lightly before cutting and clamp pieces to prevent bounce for smoother cuts. Use a lint-free vacuum followed by a targeted enzyme treatment (15–20 minutes dwell time) for urine, then blot—avoid saturating the foam. When layering two 2″ pieces for a 4″ profile, spray adhesive along the seam and press for 30–60 seconds; finish with a waterproof liner beneath a removable zippered cover to protect against future accidents.
DIY Dog Bed Assembly
Lay out materials on a clean, flat surface and work in stages: cut and layer memory foam, insert a waterproof inner liner, sew a removable cover with reinforced seams, and attach bolsters if desired. Choose high-density memory foam (≥3 lb/ft³) and foam depth between 3–6 inches depending on your dog’s weight. Use an electric carving knife, spray adhesive (3M Super 77), heavy-duty zipper, and ventilate the finished bed for 48 hours to reduce off-gassing.
Selecting the Right Dimensions
Measure your dog lying naturally from nose to base of tail and add 4–6 inches for stretch; for width, use chest girth plus 2–4 inches. Typical recommendations: small dogs 24×18 in with 3 in foam, medium dogs 36×24 in with 3–4 in foam, large dogs 48×30 in with 4–6 in foam. Bolster height of 6–8 inches supports the head without blocking mobility for seniors.
Dimension Guide
| Small (≤20 lb) | 24″×18″, foam 3″ |
| Medium (21–50 lb) | 36″×24″, foam 3–4″ |
| Large (51–90 lb) | 48″×30″, foam 4–5″ |
| Extra Large (>90 lb) | 54″×36″, foam 5–6″ |
Step-by-Step Construction Guide
Cut foam to chosen dimensions using an electric carving knife, layer pieces with spray adhesive, trim edges with coarse sandpaper for smoothness, insert a waterproof liner, and sew a removable cover with a heavy-duty zipper and double-stitched seams. Test firmness by applying 50–80% of your dog’s body weight; adjust foam depth or add a topper if support feels insufficient. Ventilate the finished bed outdoors for 48 hours.
Use 3M Super 77 or contact cement for secure foam bonds, keep a 1″ seam allowance when sewing, and choose a stitch length of ~3 mm (≈8–10 stitches/inch) for durability. Select a #8 or #10 metal zipper rated for upholstery, and pre-wash cover fabric to avoid future shrinkage. If your dog has severe arthritis, increase foam depth by 1–2 inches and test mobility before finalizing.
Step-by-Step Breakdown
| Measure | Length = nose-to-base + 4–6″, width = chest + 2–4″ |
| Cut Foam | Electric carving knife; keep straight cuts, wear gloves |
| Layer & Glue | 3M Super 77; spray evenly, press 1–2 min |
| Trim & Smooth | Coarse sandpaper for edges, vacuum crumbs |
| Insert Liner | Waterproof TPU liner, taped seams, no raw foam contact |
| Sew Cover | Double-stitch seams, 1″ allowance, pre-washed fabric |
| Install Zipper | #8/#10 metal zipper, reinforced ends |
| Final Check | Air out 48 hrs, test with 50–80% body weight |
Enhancing Comfort and Stability
Pair a 3-inch medium-density memory foam (3–4 lb/ft³) top layer with a 1-inch high-density base to combine pressure relief and structural support; add a ½-inch egg-crate or wool pad for extra contouring if your dog favors softer surfaces. Fit a breathable cotton cover with a waterproof liner underneath to protect foam from moisture. For heavier breeds, increase base thickness by ½–1 inch to prevent bottoming out and preserve long-term joint alignment.
Adding Additional Layers
Layering options include a ½-inch gel cooling pad for dogs that overheat, a 1-inch wool or fleece layer for extra warmth, or a thin bolster around the edge for head support. Use removable layers secured with washable Velcro strips spaced every 6–8 inches so you can launder or swap materials. Avoid loose embellishments; no buttons, beads, or small parts that can be chewed off and swallowed.
Securing the Bed
Anchor the bed with a non-slip rug pad cut to size and glued or stitched to the bottom, and add anti-slip silicone beading along seams to stop sliding on hardwood or tile. Install heavy-duty zippers with fabric flaps to shield teeth, and use box stitching every 4–6 inches on seams to prevent foam escape. Preventing slips reduces painful joint twists and re-injury for senior dogs.
For added stability, sew pockets into the base corners to accept 1–2 lb sandbags or flat weight plates—use plastic-lined bags to avoid moisture migration. Attach 1-inch webbing straps with stainless steel D-rings every 12–18 inches if the bed will be fixed to a crate or car seat; use quick-release buckles for easy removal. Double-stitch all high-stress areas with upholstery thread and reinforce corners with triangular patches to withstand daily use and chewing attempts.
Personalizing Your Dog Bed
Match cover textures and bolster heights to your dog’s mobility and sleep style: low 3–4″ bolsters for small breeds and 6–8″ for large breeds that lean. Use a 3–4″ high-resilience base foam beneath a 1–2″ memory foam topper to relieve pressure at hips and elbows. Install a full-length zipper and a non-slip 0.5 mm silicone dot backing for safety. Avoid loose trim or small attachments — they pose choking hazards. Aim for covers that are machine washable at 30°C to keep the bed hygienic.
Choosing Fabrics for Durability
Select tough textiles like 600D Cordura or Sunbrella (100% acrylic) for heavy use; microsuede suits seniors needing soft joint support. Stitch with bonded nylon thread and fit a heavy-duty YKK zipper, keeping a ½” seam allowance. Add a thin polyurethane or DWR-treated liner for spill resistance while maintaining breathability. Machine wash cold and tumble low; avoid bleach. Skip glued trims and brittle labels—they can detach and injure your dog.
Customizing Designs for Your Dog
Measure nose-to-tail base and add 6–8″ for lounging room; width should exceed shoulder width by ~4″. Pick bolster heights: 4–6″ for medium dogs, 8–10″ for large breeds that rest heads elevated. Install a 3–4″ low-entry lip for arthritic pets to climb in easily. Personalize with embroidered names or color-coded panels to aid orientation for senior dogs with cognitive decline. Avoid sewn-on buttons or small decorative pieces—they are choking risks.
Example: a 12-year-old Labrador (42″ length) benefits from a 42×56″ bed with a 4″ high-resilience base and a 2″ memory foam hip topper. Use an 8″ bolster attached with 3″ Velcro strips so covers are removable for washing. Sew double-stitched seams with a ½” allowance and ~3 mm stitch length; topstitch 1/8″ from the edge to prevent seam failure. Let your dog test the finished bed for 48 hours to check comfort and foam settling before final adjustments.
Maintenance and Care
Cleaning and Upkeep Tips
Spot-clean fresh spills within 30 minutes using a mild, enzyme-free detergent and launder the removable cover every 2–4 weeks on a gentle, cold cycle.
- Upcycled memory foam: air 2–4 hours after washing, avoid high heat.
- Orthopedic dog bed cover: machine wash cold, tumble low or air-dry.
- Senior canines: change bedding every 4–8 weeks if incontinent and use a waterproof liner.
The foam core benefits from a monthly 2-hour sun airing to reduce moisture and dust-mite buildup.
Monitoring Your Dog’s Comfort
Track sleep: senior dogs often rest 14–18 hours daily; if your dog naps 20+ hours, shows restlessness or reluctance to rise, log frequency and duration. Time how long it takes to stand—under 10 seconds is typical; 10–20 seconds suggests stiffness. Make incremental adjustments like adding 1–2 inches of padding or a low ramp, and bring notes to your vet if issues persist.
Use a simple monitoring routine: quick daily checks for posture, appetite, and urinary accidents, plus a weekly 30-second video of standing, walking and turning to compare over time. Measure skin temperature with an infrared thermometer—>2°C asymmetry or persistent redness signals irritation. Keep a log (date, activity, pain signs) and present trends and the bed’s specs (upcycled memory foam, thickness, cover material) at veterinary visits.
Conclusion
From above you can build an affordable, supportive orthopedic bed that extends mobility and comfort for senior canines by upcycling memory foam, selecting durable washable covers, and ensuring correct dimensions and bolstering for joint support; apply safe cleaning and inspection practices so your dog benefits from improved rest and reduced pressure on aging joints.
FAQ
Q: What materials and safety checks should I use when repurposing memory foam for a senior dog’s orthopedic bed?
A: Source foam from clean, smoke-free, dry items (old mattress toppers, sofa cushions). Reject foam with mold, stains, persistent chemical odors or brittle/crumbling areas. Ideal foam density for orthopedic support is about 3–5 lb/ft³: higher density holds shape and supports joints better. Build layers: a firm base layer for support (2–4″ depending on dog size) and a softer memory layer on top (1–3″) for pressure relief. Always air out foam in a ventilated area 24–72 hours to reduce off-gassing; discard pieces that still smell strong. Encapsulate foam in a waterproof, breathable liner and a durable outer cover with reinforced seams so foam pieces cannot be chewed out or ingested. Use a non-slip fabric on the underside. Avoid strong solvent-based adhesives; if bonding layers, choose low-VOC spray adhesive labeled safe for foam or hold layers in a fitted cover.
Q: What step-by-step method produces a comfortable, durable DIY orthopedic bed for an aging dog?
A: 1) Measure: length = nose-to-base-of-tail + 6–12″, width = shoulder width + 2–4″. 2) Cut foam to size using a serrated knife or electric carving knife for clean edges. 3) Layer: place a firm support layer on the bottom, softer memory layer(s) on top; for heavy dogs use a thicker firm base. 4) Optional bolsters: sew tubes from durable fabric, stuff with shredded foam or batting and attach to the outer cover. 5) Encase layers in a zippered waterproof mattress protector to guard against accidents, then a washable outer cover of breathable fabric (microfiber, cotton canvas) with a separate zip. 6) Secure bottom with non-slip backing or a rubberized mat. 7) Stitch seams with a double stitch and reinforce stress points on the zippered cover. 8) Finalize: let the assembled bed air in open air for a day, then place it where the dog can easily step in—low profile for arthritic dogs. Avoid solvent adhesives; use sewing or low-VOC spray adhesive if needed.
Q: How do I size, position, and maintain the bed for a senior dog, and when should foam be replaced?
A: Sizing by weight and posture: small dogs need 2–3″ total foam; medium 3–4″; large/giant 4–6″ with a firm base. If the dog sleeps stretched, add 6–12″ to length. Position low to the floor near a warm, draft-free spot with non-slip flooring or a rug for easy access; add a short ramp or step if needed. Maintenance: wash outer cover weekly to fortnightly depending on soil, spot-clean liners, vacuum foam to remove hair, and air foam occasionally to prevent moisture buildup. Replace foam when you notice permanent sagging, clumping, loss of pressure relief, persistent odor, or mold—typically every 2–4 years for upcycled foam depending on condition and use. For extra joint support, add a wedge under the head or a firmer base layer; consult your veterinarian if mobility or pain worsens.